
 gnhe.ca
 Opening: Planning Your Board and Batten Shed
Embarking on a DIY shed project with board and batten siding offers a fantastic way to add storage and style to your property. This guide will walk you through the process, from planning and material selection to the final installation. Remember to check local building codes and obtain any necessary permits before beginning.
Step 1: Design and Foundation
Sketch Your Shed: Create a detailed sketch of your desired shed, including dimensions, door and window placements, and roof style (gable or shed roof are common choices). Choose a Foundation: Options include a gravel pad, concrete slab, or wooden skid foundation. A gravel pad is often the simplest for small sheds, while a concrete slab offers more stability and durability for larger structures. Skids allow for easier relocation. Prepare the Foundation: Depending on your choice, level the ground, pour concrete, or build your skid frame ensuring it is level and square. Accurate foundation preparation is crucial for a stable and square shed. Step 2: Framing the Walls
Cut the Lumber: Using your shed dimensions, cut the lumber for your wall frames. Typically, 2x4 lumber is used for wall studs, top plates, and bottom plates. Assemble the Frames: Lay out the top and bottom plates, placing studs every 16 inches on center (O.C.). Secure the studs to the plates using nails or screws. Remember to frame openings for doors and windows. Raise the Walls: With assistance, raise each wall frame and attach them to the foundation, ensuring they are plumb and square. Use temporary bracing to hold the walls in place. Connect the Walls: Connect the wall frames at the corners using screws or nails. Verify the entire structure is square before permanently securing the walls. Step 3: Framing the Roof
Determine Roof Style: Choose between a gable roof (two sloping sides meeting at a ridge) or a shed roof (single sloping side). Gable roofs require more complex rafter cuts. Cut the Rafters: Calculate the rafter length and cut the rafters according to your chosen roof style and pitch. Use a speed square to mark the correct angles. Install the Rafters: Attach the rafters to the top plates of the walls, ensuring they are evenly spaced and properly aligned. For a gable roof, install a ridge board to connect the rafters at the peak. Sheathe the Roof: Cover the rafters with plywood or OSB sheathing. Secure the sheathing with nails or screws, leaving a small gap between sheets to allow for expansion. Step 4: Installing Board and Batten Siding
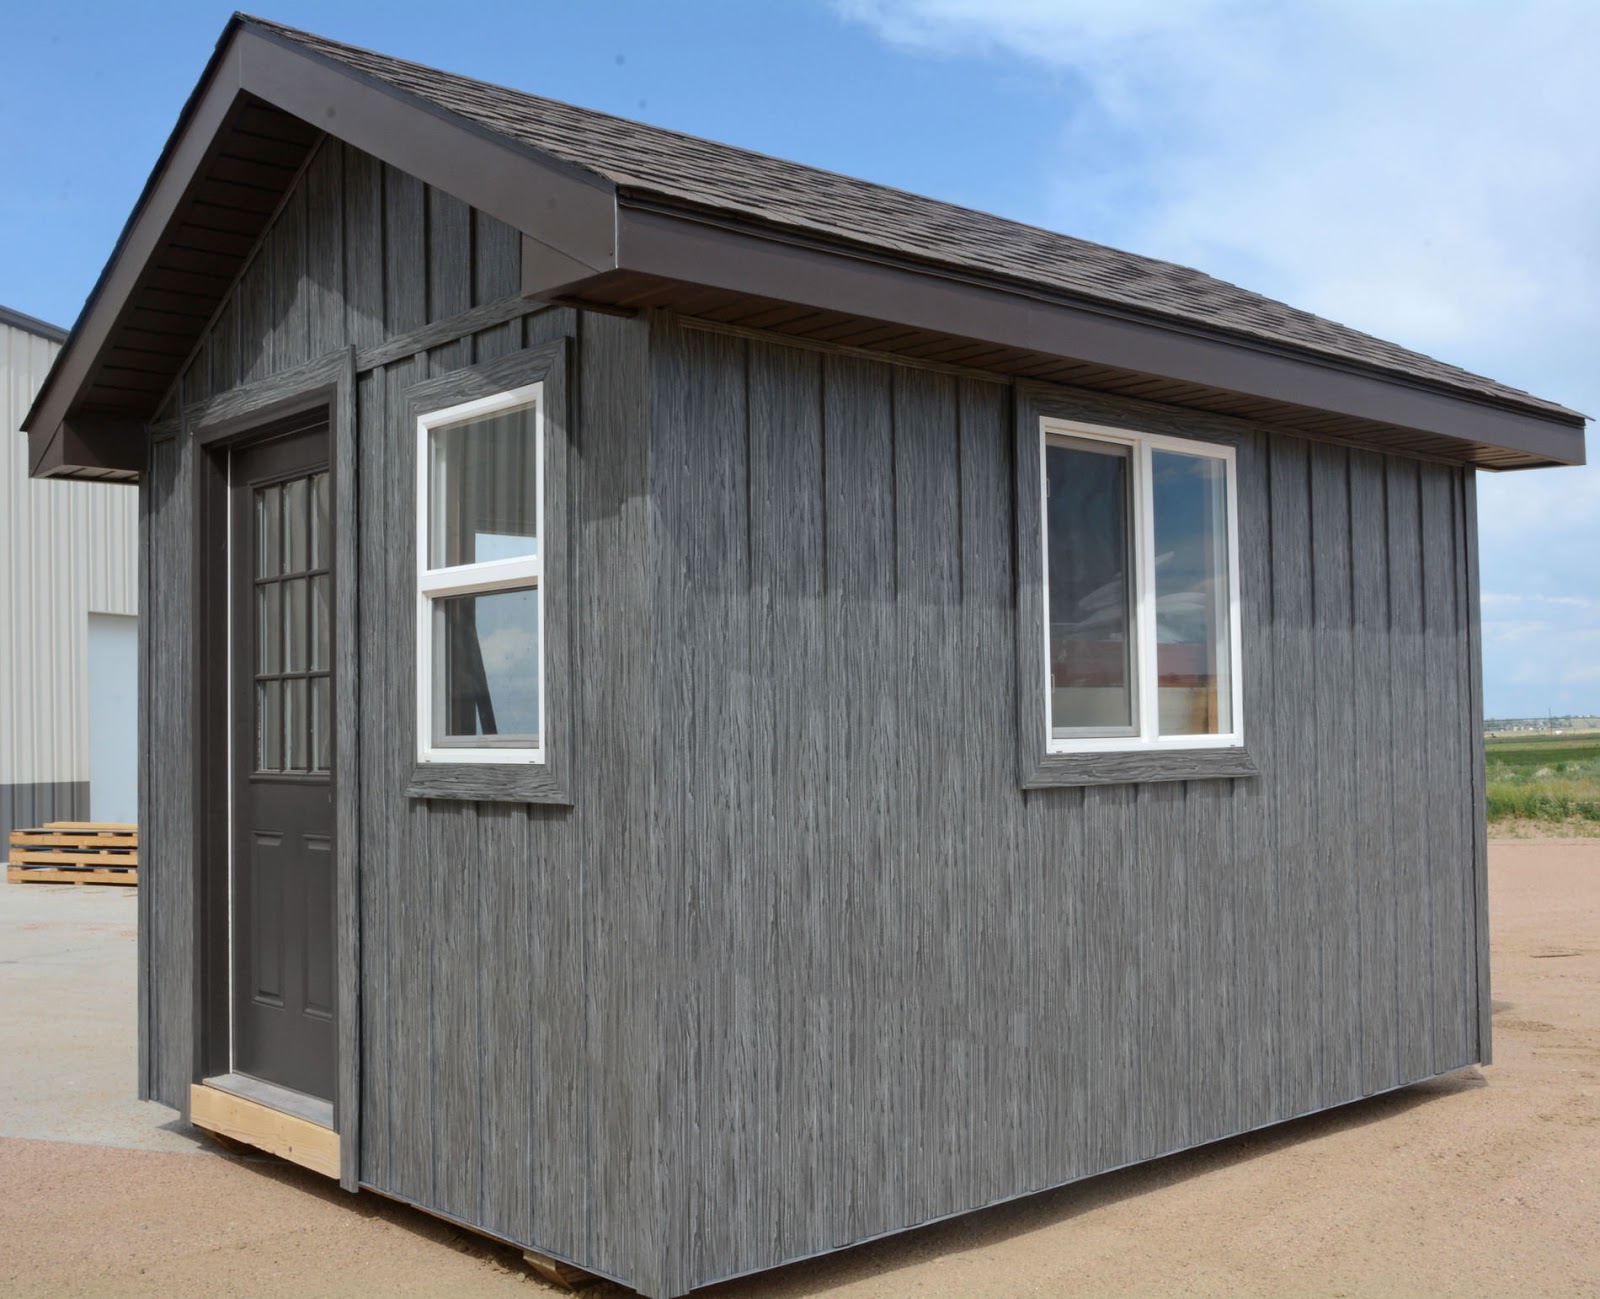
Prepare the Walls: Cover the exterior walls with a water-resistant barrier (WRB), such as Tyvek or felt paper. This protects the framing from moisture. Install the Boards: Vertical boards (usually 1x12 or 1x10) are attached directly to the wall framing, spaced according to your desired aesthetic (typically 2-4 inches apart). Use a level to ensure they are straight. Install the Battens: Narrower strips of wood (battens, often 1x3 or 1x4) are then placed over the seams between the boards, covering the gaps. Center the battens over the seams and secure them with nails or screws. Caulk and Paint: Caulk all seams and edges to prevent water penetration. Prime and paint or stain the siding to protect it from the elements and enhance its appearance. Step 5: Doors, Windows, and Finishing Touches
Install Doors and Windows: Install your pre-hung door and windows according to the manufacturer's instructions. Ensure they are plumb and square. Add Trim: Install trim around the doors, windows, and corners of the shed to create a finished look and further seal out moisture. Install Roofing: Cover the roof sheathing with roofing material such as asphalt shingles, metal roofing, or wood shakes. Follow the manufacturer's instructions for installation. Interior Finishing: Consider adding insulation, flooring, and shelving to customize the interior of your shed. Conclusion: Enjoy Your New Board and Batten Shed
Congratulations on building your own board and batten shed! With careful planning and execution, you've created a functional and attractive addition to your property. Remember to regularly maintain your shed to ensure its longevity and continued usefulness.
Board And Batten Shed Design: The Definitive Guide (2022)
 www.trulogsiding.com
 Brown Siding With White Board And Batten For Shed
gnhe.ca Board And Batten Shed Design: The Definitive Guide (2022)
 www.trulogsiding.com


0 komentar:
Posting Komentar